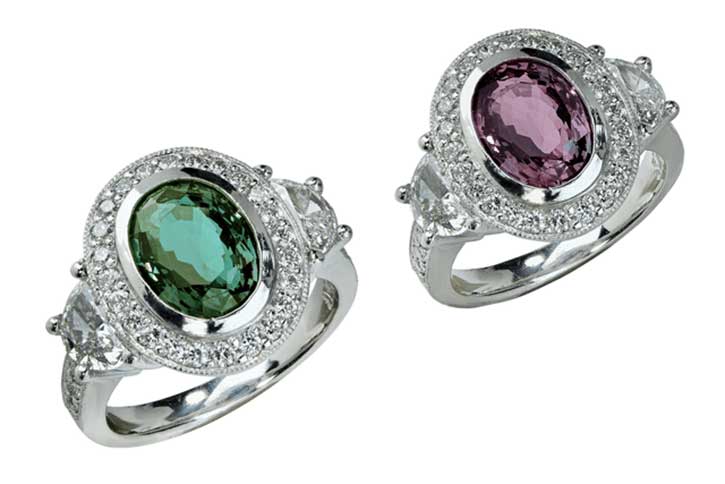
If you’re a jewelry lover, you’re probably familiar with the art of Mokume-gane metalsmithing. For those who aren’t familiar, Mokume-gane is an ancient Japanese metalworking process which mixes two or more metals together to create exquisite patterns. The finished result is said to resemble wood-grains, yet the swirling, laminated metals are in a class of their own.
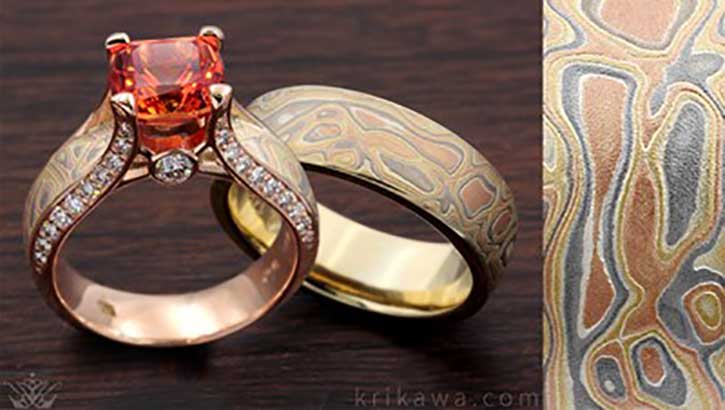
The technique was developed in the 17th-century to make swords and other household items in later years. Around 1877-1878, Tiffany & Co. began to experiment with the technique, winning prizes for its silver wares but never using it to create jewelry.
The technique stayed in the shadows of customized jewelry design until about the 1970’s. But now, nearly fifty years later mokume-gane is gaining popularity with its own fashion fan-base.
In the past, the process required stacking and fusing sheets of selected metals together with solder. Today the leading-edge process is known as solid-state bonding, which pops the metals into a furnace set at the ideal temperature to meld the metals.
After the metals are fused together, using any of the methods above, they are sliced through with a chisel to expose the beautiful layers of metal and then flattened. That’s when the creativity begins. The pounding and flattening process is repeated until a desirable and unique pattern emerges, which is determined by each artisan.
Mokume rings have two parts: One part is the liner and the other is the mokume-gane layer. Once you review the next five steps, you will be able to order yours with confidence.
Tip 1: How to Select Your Liner Metal
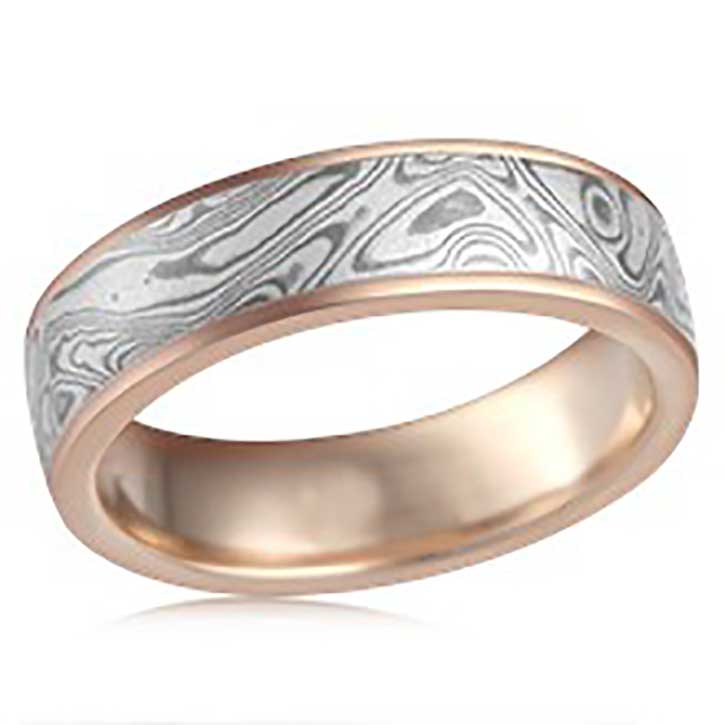
As mentioned above, there are two parts to the Mokume-gane ring. The base, also called the liner, is the inside, sides and occasionally the setting of the ring. The inside is the circular metal base that will connect with your ring finger. If using a bezel setting, the same metal will generally be used. The most popular “liner” metals are 14K rose gold, 18K yellow gold, palladium, platinum, 10K green gold or 14K white gold. Which metal is your favorite?
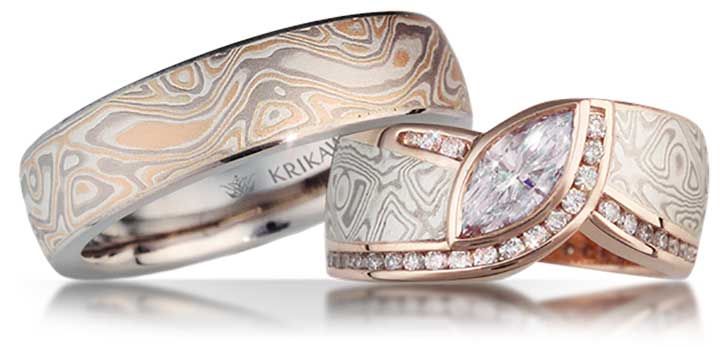
Tip 2: Select Your Mokume Colors from a Lookbook
If you’re not a jeweler and have never ordered a custom-designed piece of jewelry, you will be more satisfied with the finished product when you can choose from a selection of metal combinations that are known to work well together for the mokume-gane process. Even though each hand pattern is slightly different, you’ll have a better idea of the finished result when you order off a previously determined menu.
Tip 3: Choose the Ring’s Profile
This sounds more confusing than it is. All rings have profiles and when custom designing a mixed metal ring you have the opportunity to state your preference. Basically, a ring’s profile includes 3 parts: its surface, edges, and rails. Take a look at this sample list and you’ll understand:
- Flat profile, medium edge (0.6mm), flush rails
- Standard profile, micro edge (0.3mm), flush rails
- Standard profile, medium edge, flush rails
- Standard profile, wide edge (0.8mm), flush rails
- Standard profile, medium edge, raised rails
- Standard profile, wide edge, raised rails
- Standard profile, wide edge, v-groove rails
- Standard profile, extra wide edge (1.5mm), flush rails
- Heavy rounded profile, extra wide edge, flush rails
It’s best to select the profile that works the best with your finger shape, width and length. Comfort is important also, so if you have large knuckles or barely-there knuckles, that will play a part in selecting the ring’s profile.
Tip 4: Stone or no Stone – That is a Good Question!
Custom jewelry is all about personal taste, right? You might decide to have tiny stones in a flush or channel setting. Or you might love one large bezel setting to make a sparkling stone stand out against the unique mokume background. Either way, the mokume band is so striking you can go with your budget and personal taste. If you decide on the band (with or without flush or channel set stones), the choice of having a matt, high polish or etched finish will come up. Looking at examples really helps!
Tip 5: Contoured or Straight Band?
The last decision is probably the easiest. You probably thought all band shapes were alike. And, they are pretty much except for specialty bands which come in whatever shape you and your ring designer think will work. Outside of that, you can choose a straight band… or a contoured band that is molded on one side for a snug fit next to an engagement ring. That makes the decision pretty simple. If you’re not going specialty, then it comes down to whether you are matching the band to an engagement ring – or not! Easy peasy!
You’re almost there and probably have a good idea of what you like so far. Add it all together and you have your perfect custom-designed mokume ring! Mokume-gane is one of the most unique and stunning jewelry processes available. When ordering yours, always use a trusted jeweler who has the skills and is not sending it out to another vendor.
These five tips cover all the preparation you’ll need aside from determining your budget! An experienced jeweler will be able to show you designs and styles that will work for your designated price so you can enjoy your mokume-gane ring for the rest of your life!
By: Sandra Faleris, Writer/Marketing Professional

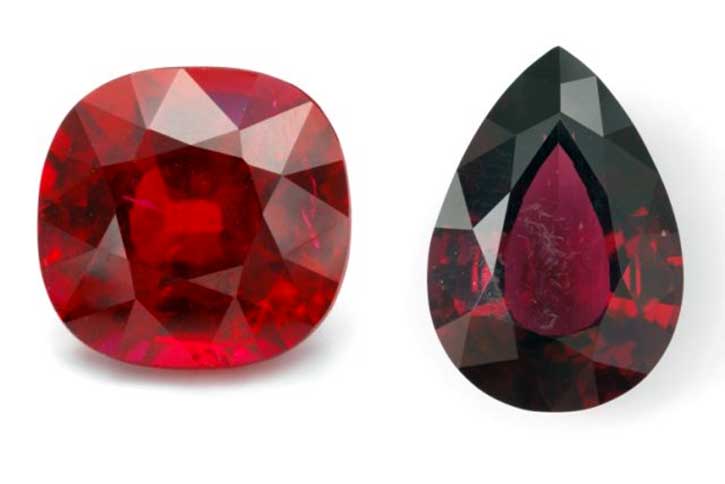 Ruby Imposters and How to Spot Them